How to Build a Gofrugal-Integrated Ecommerce Website
Your billing counter says four units are left. Your website says twelve. One of them is wrong, and the customer who just paid online is about to find out which.
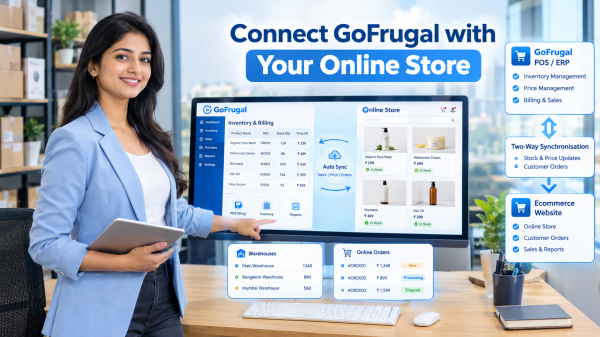
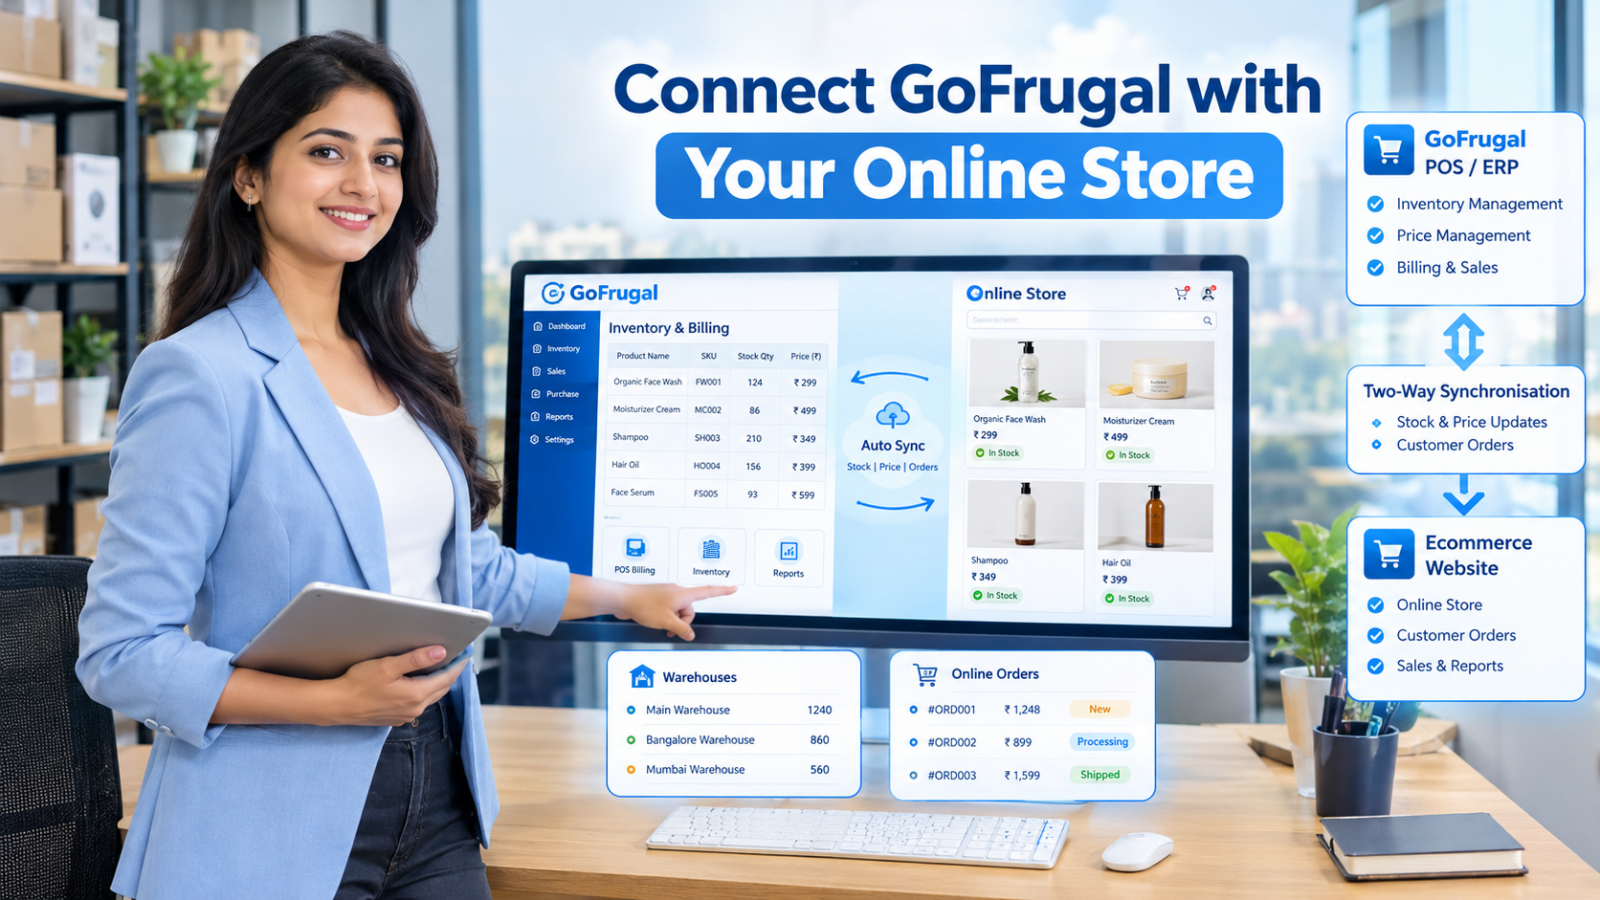
If your stores or warehouses already run on Gofrugal, the fix is not a second stock system. The fix is to build a Gofrugal-integrated ecommerce website: an online store that reads stock and prices from Gofrugal and sends every online order straight back into it.
This guide shows you how to build one from scratch, in the order you should actually do it: preparing your Gofrugal data, choosing the platform, building the store, connecting Gofrugal, setting up orders, testing and going live.
Quick Answer To build a Gofrugal-integrated ecommerce website: |
Key Takeaways
|
What Is a Gofrugal-Integrated Ecommerce Website?
It is an online store connected to your Gofrugal POS or ERP, so both share the same inventory, pricing and order data automatically.
Gofrugal is an omnichannel ERP for retail, restaurant and distribution businesses. According to Gofrugal, more than 30,000 businesses in 75+ countries use it for billing, inventory, purchasing, reports and tax. It offers open e-commerce APIs, which is what makes Gofrugal ecommerce integration possible.
The integration you are building has two data flows:
- Item data from Gofrugal to your website: item code, name, location, stock, MRP, selling price, tax percentage and discount.
- Order data from your website to Gofrugal: customer details, shipping address, items, quantities, tax, discount coupon and delivery date, created as a sales order.
Keep these two flows in mind. Every step below exists to make one of them work correctly.
What Do You Need Before You Build Your Gofrugal Ecommerce Website?
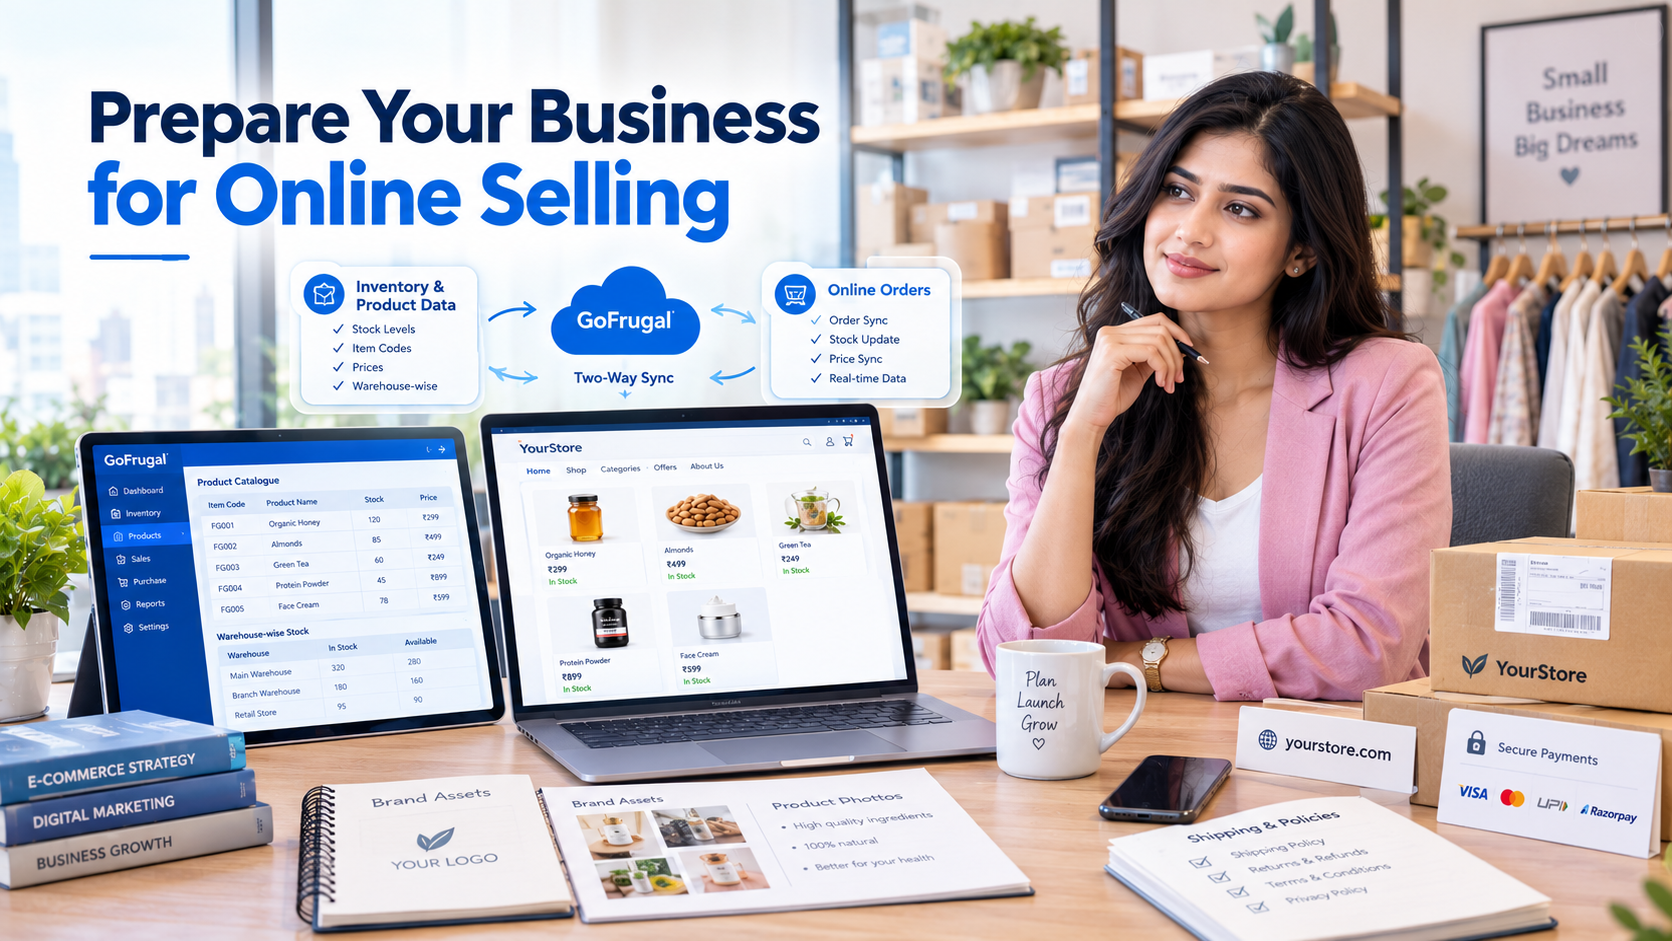
You need active Gofrugal access, clean item data, a list of the locations that will fulfil online orders, and the basic assets for an online store.
- Gofrugal admin access, or your Gofrugal partner available for configuration questions.
- A list of fulfilment locations: which stores or warehouses will ship online orders.
- Store assets: logo, product photos, product descriptions and a category plan.
- A domain name for your website, such as yourbrand.com.
- A payment gateway account and a shipping or delivery plan.
- Store policies: shipping, returns, refunds and privacy.
One technical check: if your Gofrugal installation runs on a local server instead of the cloud, the connection may need a secure, reachable endpoint. Gofrugal's knowledge base covers setting up HTTPS on a Windows server for this. Confirm your setup with your Gofrugal partner first.
Which Features Should Your Gofrugal-Integrated Website Have?
Your website needs the Gofrugal sync features first, and the selling features your customers expect second.
Before you start building, list the features your website must have. This helps you choose the right platform in Step 2 and avoid rebuilding later.
Feature | Why you need it |
|---|---|
Automatic stock and price sync | Keeps the website matched to Gofrugal without manual uploads |
Automatic order push to Gofrugal | Lets your team bill and ship online orders from one system |
Warehouse-wise stock | Shows only the stock that is available for online orders |
Variant support | Sells the right size, colour or pack from the right reference code |
Mobile-friendly design | Most shoppers browse and buy on their phones |
Payment gateway and shipping options | Lets customers pay and receive orders the way they prefer |
SEO settings | Editable page titles, meta descriptions and URLs help products get found on Google |
B2B and international selling | Useful if you sell to trade buyers or ship to other countries |
If a platform can't do the first four, it is not suitable for a Gofrugal-integrated store, no matter how good the design looks.
How Do You Build a Gofrugal-Integrated Ecommerce Website, Step by Step?
Follow these ten steps in order: prepare data, choose the platform, build the store, add products, add payments and shipping, connect Gofrugal, map locations and prices, set up orders, test, then launch.
Step 1: Clean up your item master in Gofrugal
Your website will only be as accurate as the data Gofrugal sends it, so start here, not with the design.
- Merge or deactivate duplicate items.
- Make sure every item has one unique item code.
- Give every variant its own reference code. Gofrugal's API uses a separate reference code for each matrix item combination, such as size and colour. Your website needs it to sell the right variant.
- Check MRP, selling price and tax percentage on each item. All three travel to your website.
- Note item names that only your staff understand, such as "BLU SHRT M 2". You will give them customer-friendly names on the website.
On Shopaccino: export your cleaned item list from Gofrugal before you open your Shopaccino admin. You will use these same item codes and variant reference codes as the SKU for each product and variant in Step 4, so the Gofrugal app can match every item on its first sync.
Step 2: Choose an e-commerce platform that connects to Gofrugal
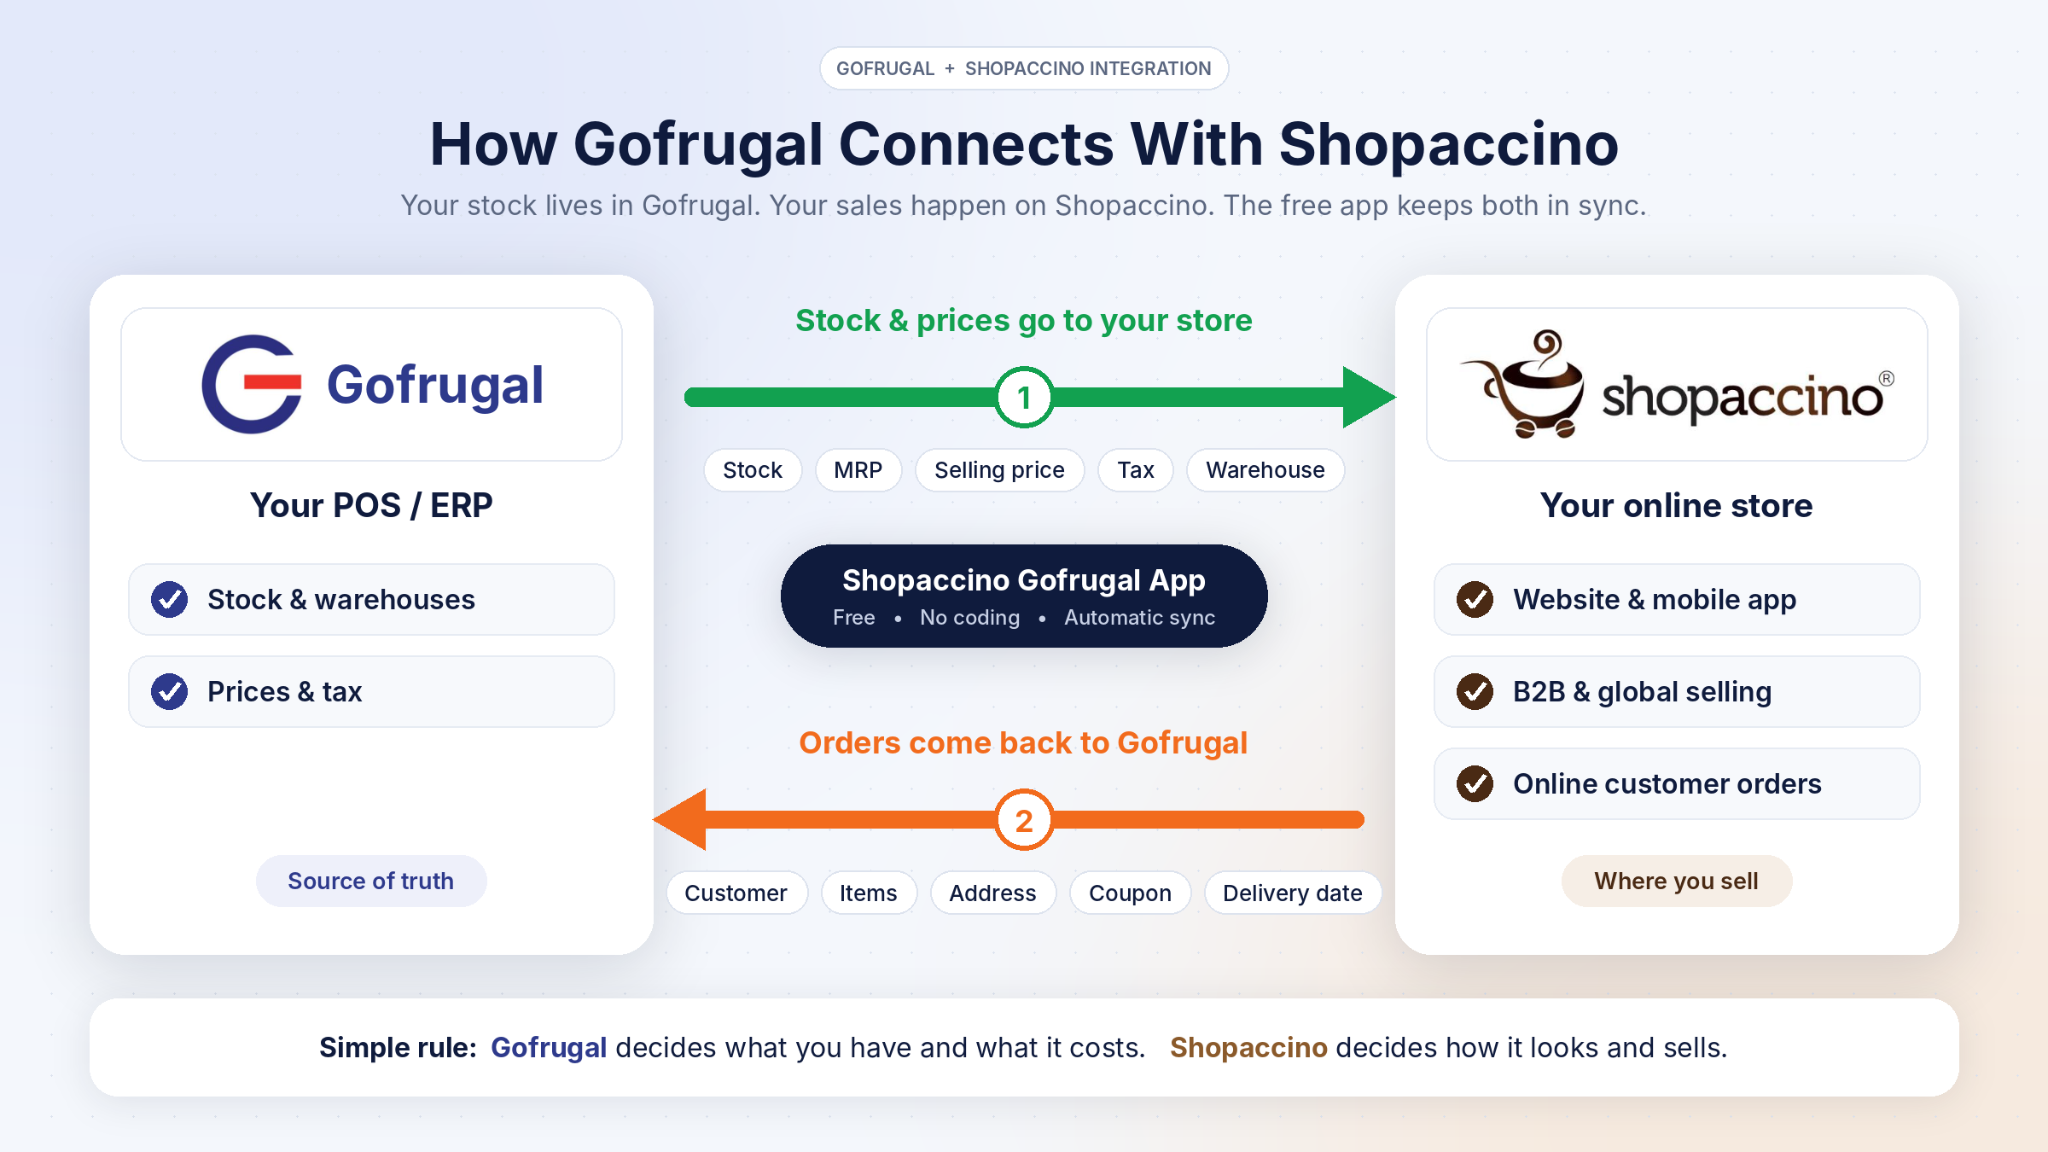
How Gofrugal connects with Shopaccino: warehouse-wise stock, prices and tax flow from Gofrugal to your Shopaccino store, and online orders flow back into Gofrugal as sales orders.
There are three ways to connect a website to Gofrugal:
Option | How it works | Best for |
|---|---|---|
Custom build | Developers build the store and connect it using Gofrugal's open API | Businesses with in-house tech teams and unusual workflows |
Middleware | A third-party tool sits between Gofrugal and your store | Businesses already using a connector tool |
Ready connector | The ecommerce platform has a Gofrugal app built in | Most businesses that want to go live quickly without coding |
- Pulls stock, prices and tax from Gofrugal
- Pushes website orders back into Gofrugal automatically
- Supports multi-warehouse inventory, not just one total stock figure
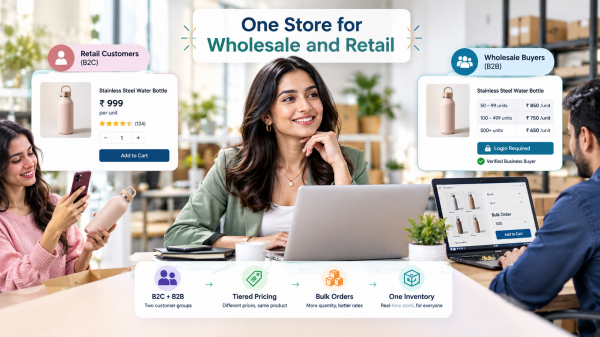
- Supports how you sell: B2C, B2B wholesale, a mobile app or cross-border shipping
On Shopaccino: the free Gofrugal app covers all four points. It pulls stock warehouse by warehouse, along with prices and tax, from Gofrugal, pushes website orders back automatically, and runs on the same platform as Shopaccino’s B2B commerce, mobile app and global commerce features. You get a ready connector without paying for a custom build or a middleware subscription.
Step 3: Set up your store, domain and design
Create your store account, connect your domain and choose a theme. Pick a design that is fast and works well on mobile, since most shoppers browse on their phones. Then add your logo, brand colours, header menu, footer and policy pages.
On Shopaccino: sign up, connect your own domain, and pick a mobile-friendly theme from Themes. Use Theme Settings and Manage Theme Elements to add your logo, brand colours, header menu and footer. Then create your shipping, returns, refund and privacy pages under Content WebPages. You do not need to write any code.
Step 4: Build your product catalogue and match it to Gofrugal
Create categories based on how customers search, not how your warehouse shelves are arranged. Then build product pages with clear photos, customer-friendly names, descriptions, specifications and SEO-friendly URLs.
The most important rule in this step: every product and variant on your website must match its Gofrugal item code or reference code. This match is what lets stock, prices and orders sync to the right item. A product without a match will either show wrong stock or fail to reach Gofrugal as an order.
On Shopaccino: set up your category tree under Categories, then add each product with Product Variants for size, colour or pack. Use the Gofrugal item code, or the variant reference code, as the SKU so the Gofrugal app can match each item. Add Product Meta Tags and a clean URL to every product page, and turn on Product Filters so shoppers can narrow results by size, colour or price.
Step 5: Add payments, shipping and taxes
Connect your payment gateway and test a live payment. Set shipping zones, rates and delivery options for the regions you serve. If you sell abroad, set up currencies and international shipping as well.
Taxes need extra care. Since the item tax percentage comes from Gofrugal, make sure your website's tax settings work with it, so the tax a customer pays online matches the tax on your Gofrugal invoice.
On Shopaccino:connect a payment gateway such as Stripe, PayPal or Razorpay, and switch on the local payment options your buyers use, such as cards, wallets, EMI or cash on delivery. Link your own shipping agency account to generate waybills from the admin. Set tax rates per product in Tax Management so they match the tax percentage in Gofrugal. If you sell abroad, turn on Multi-Currency Checkout so shoppers see prices in their own currency.
Step 6: Connect Gofrugal to your website
This is where the integration actually happens.
With a ready connector (Shopaccino): open the App Store, go to Inventory and Accounting, select Gofrugal and click Add to Site. Enter the connection details from your Gofrugal account. Your Gofrugal partner can provide these if you don't have them.
On Shopaccino: once the app is added, let the first sync run, then open five to ten products in your Shopaccino admin and compare their stock and prices with Gofrugal. If a product shows zero stock or the wrong price, check its SKU against the Gofrugal item code before you move on. The whole connection is codeless, so no developer is needed for this step.
With a custom {{Gofrugal API integration}}: your developer connects to two sets of endpoints. The items API lists products with rate and stock. The sales order APIs create, list and retrieve orders. Gofrugal's knowledge base explains how to test these calls with a tool like Postman before connecting your live store.
Step 7: Map warehouses, stock and prices
If you run more than one location, decide which stock is available online. You can sell from one central warehouse or from several stores. A good connector auto-syncs warehouse-wise inventory and pricing, so each location's stock stays separate and accurate.
- MRP and selling price: decide whether to show MRP as a crossed-out price with the selling price as the actual price.
- Buffer stock: hold back one or two units of fast-selling items, so a walk-in sale and an online order don't fight over the last piece.
On Shopaccino: add each store or warehouse under Multi Warehouse Locations and choose which ones fulfil online orders. The Gofrugal app then syncs stock and prices for each location separately, and Order Fulfillment sends every order to the right warehouse based on the delivery location. You can also add a separate tax number for each warehouse so invoices match the location that ships the order.
Step 8: Set up the order flow
When a customer orders on your website, the order is pushed into Gofrugal as a sales order. Your team then bills, packs and ships it from Gofrugal, the same way they handle any other sale.
Train every staff member on one rule: update online orders only in Gofrugal. Shopaccino's Gofrugal app documentation states that orders must be updated in the Gofrugal system for inventory to sync. If an order is processed anywhere else, your stock counts will drift.
On Shopaccino: every new website order shows up in Manage Orders and is pushed to Gofrugal automatically, so nobody has to re-enter it. Use the Shopaccino admin for what the customer sees, such as order status, delivery date and time slots, and return requests through Return Management. Keep billing, packing and stock updates in Gofrugal.
Step 9: Test every sync scenario
One successful test order is not enough. Run each of these checks before launch:
Test | What should happen |
|---|---|
Change a price in Gofrugal | The new price appears on the website |
Sell the last unit in store | The website shows the item as out of stock |
Order a specific variant | The right size or colour reduces in Gofrugal |
Order stock from a second warehouse | Stock reduces at the correct location |
Use a discount coupon | Discount and tax reach Gofrugal correctly |
Cancel or return an order | Stock goes back to the right location |
On Shopaccino: run each test with a real payment and a test coupon made in Generate Coupon Codes. After every test, check the result in two places: Manage Orders in your Shopaccino admin and the matching sales order in Gofrugal. Both should show the same items, tax, discount and warehouse.
Step 10: Launch and monitor
Go live, then compare stock between Gofrugal and the website every day for your top 20 products for the first two weeks. If numbers drift, the cause is almost always a missing variant code or an order processed outside Gofrugal. Once the numbers hold, shift your attention to growth.
Three things to do in the first month after launch:
- Submit your sitemap to Google Search Console so your product and category pages get indexed.
- Write unique product descriptions for your best sellers instead of using Gofrugal item names, so each page can rank on its own.
- Tell your in-store customers about the website at the billing counter and on receipts. They already trust you, and now they can reorder online with stock they know is accurate.
On Shopaccino: your sitemap updates on its own, so you only need to submit it once through the Google Search Console app. Edit meta titles and descriptions in bulk with Meta Tags, add Schema to product pages, and use Abandoned Cart and Marketing Automation to bring back shoppers who left without buying. As you grow, add a B2B ordering portal, a mobile app or a cross-border store on the same Gofrugal stock.
How Does Data Flow Once Your Website Is Integrated With Gofrugal?
Stock and prices move from Gofrugal to your website, and orders move from your website into Gofrugal.
Data | Direction | Where you manage it |
|---|---|---|
Stock quantity | Gofrugal to website | Gofrugal |
MRP and selling price | Gofrugal to website | Gofrugal |
Location-wise stock | Gofrugal to website | Gofrugal |
Online orders | Website to Gofrugal | Received online, processed in Gofrugal |
Billing and fulfilment | Stays in Gofrugal | Gofrugal |
Photos, descriptions, SEO | Stays on website | Your ecommerce platform |
A simple rule for your team: Gofrugal decides what you have and what it costs. The website decides how it looks and how it sells. That is how you sync online and offline inventory without anyone editing the same number twice.
What Mistakes Should You Avoid When Building a Gofrugal-Integrated Store?
Most problems come from messy data and team habits, not from the integration itself.
- Building the store before cleaning data. Duplicate items and missing variant codes go straight to your website.
- Editing stock on the website by hand. The next inventory sync overwrites it.
- Unmatched products. A website product with no Gofrugal code shows wrong stock and breaks orders.
- Processing orders outside Gofrugal. Stock won't sync correctly.
- No buffer stock. Walk-in and online sales clash on popular items.
- Skipping the returns test. Returns are where stock most often lands at the wrong location.
How Long Does It Take to Build a Gofrugal-Integrated Ecommerce Website?
With a ready connector, most businesses can go live in one to three weeks, while a custom API build can take several weeks to a few months.
The connection itself is quick with a codeless app. Most of the time goes into cleaning item data, creating product content and testing. Your catalogue size, number of variants and number of warehouses decide how long that takes. A custom build adds development, server setup and ongoing maintenance on top.
How Does Shopaccino Help You Build a Gofrugal-Integrated Website?
Shopaccino gives you the store builder and a free, codeless Gofrugal app in one platform, so you can build the website and connect Gofrugal without developers.
Shopaccino is an ecommerce platform for established businesses that sell online, offline or both, including manufacturers, exporters, distributors and D2C brands. With its Gofrugal app, you can:
- Pull inventory and prices from Gofrugal to your website
- Push website orders into Gofrugal for fulfilment
- Auto-sync stock and prices from multiple warehouses
- Sell the same products and inventory offline and online
You can also build a B2B ordering portal, a mobile app or a cross-border store on the same platform, all running on your Gofrugal stock.
Start free with Shopaccino and build your Gofrugal-integrated ecommerce website today.
FAQs
Yes. Gofrugal provides open ecommerce APIs, and some ecommerce platforms, including Shopaccino, offer ready Gofrugal connectors that sync stock, prices and orders.
Not with a ready connector. Shopaccino's Gofrugal app is codeless. You only need developers for a fully custom API build, or help from your Gofrugal partner if your Gofrugal runs on a local server.
Yes. It is listed as free in the Shopaccino App Store. Your Shopaccino plan and Gofrugal license are billed separately.
Yes. Stock and prices sync from Gofrugal to your website automatically, so you don't need manual uploads. Confirm the sync frequency during setup.
Yes. The Shopaccino Gofrugal app auto-syncs warehouse-wise inventory and pricing, so you choose which locations serve online orders.
In Gofrugal. Website orders are pushed into Gofrugal as sales orders, and your team should update them there so stock stays accurate.
Yes. Gofrugal is used in 75+ countries, and Shopaccino supports cross-border selling along with domestic sales. Check shipping, tax and product rules for each market first.
Your stock is already counted, priced and organised in Gofrugal. The best website you can build is one that simply listens to it.